
How to Install zsh and Oh My Zsh in Windows 10 (ok)
https://dev.to/kumareth/a-beginner-s-guide-for-setting-up-autocomplete-on-ohmyzsh-hyper-with-plugins-themes-47f2
C:\Users\Administrator\.zshrc
# Lines configured by zsh-newuser-install
HISTFILE=~/.histfile
HISTSIZE=6000
SAVEHIST=1000
ZSH_THEME="honukai"
#  https://github.com/ohmyzsh/ohmyzsh/wiki/Plugins
plugins=(git zsh-syntax-highlighting zsh-autosuggestions yarn node nodenv npm laravel)
# End of lines configured by zsh-newuser-install

- A beginner's guide for setting up autocomplete on OhMyZsh & Hyper with plugins & themes!
Your normal bash might have functions you normally need, but if you are a regular terminal user, zsh will be changing the way you type commands.
Features that zsh, ohmyzsh and hyper together provide will simply blow your mind.
Did you know you can control Spotify from your terminal? Yes, Hyper Plugins allow you to do that.
Setting up this stuff can be overwhelming for a beginner, so here's a very simple guide to get started! 🤩
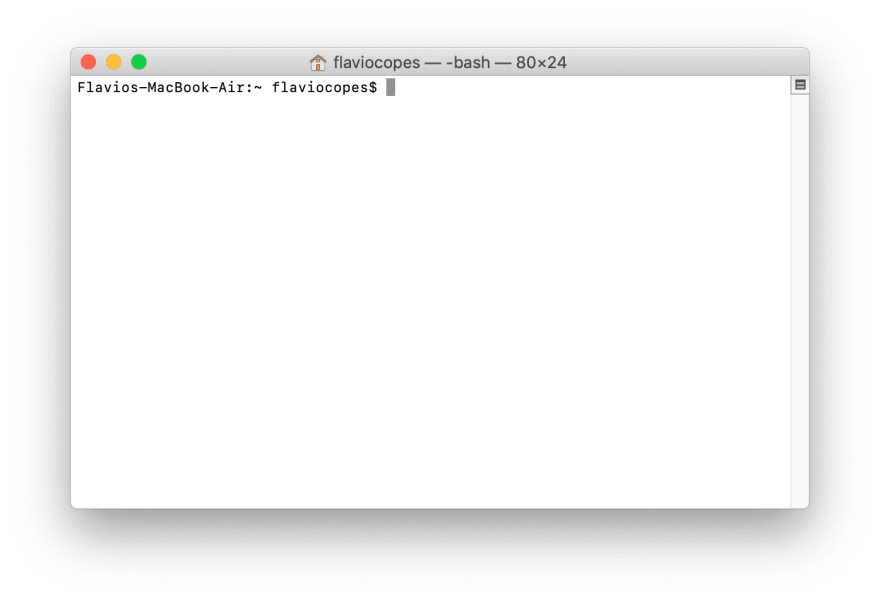
🔥 IntroductionIf you are using a regular terminal like what you see below, you are missing a lot of features that OhMyZsh provides.

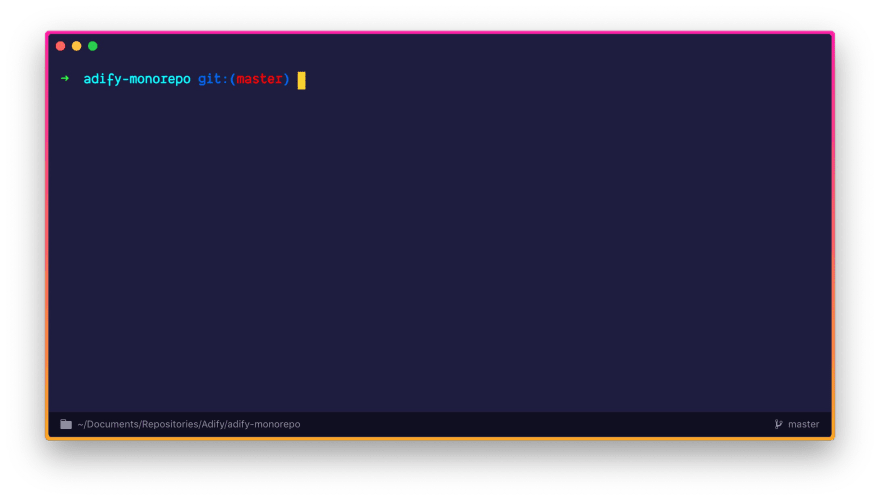
Today, you'll be doing a terminal makeover to make it look like this...

Not just the looks, but OhMyZsh comes with ample of features to lighten up your programming journey.
At the end of the tutorial, this is what you would be able to do in your terminal...
NPM, Git autocomplete
Auto Suggestions while you type in the terminal
Syntax Highlighting that tells if a command is defined
Use the cursor to edit the terminal command
See
git branchandgit statusof the current directoryOpen new tabs with the same directory as the current tab
Use OhMyZsh features like navigating without using
cd, usage ofll, easier tab-click based navigation, and much more!
❤️ Get StartedFirst, you have to install
zsh. In some cases (depends on the OS you are running), it would already be installed. Therefore, check if it's installed by runningzsh --versionin your terminal.The installation process for
zshis different in different Operating Systems. Checkout the Zsh Installation Guide to install zsh.After you install Zsh, make sure you make it your default shell. Run the following in your terminal to do so.
Log out and Log in back to your default shell. Run
echo $SHELLand the output/bin/zshor similar is expected.🔰 Installing OhMyZshNote that zsh and OhMyZsh are different.
Install
OhMyZshby running the following command in terminal.When you install OhMyZsh, many plugins come with it for your rescue!
To add useful plugins, Open
~/.zshrcin TextEdit/Notepad/Vim/VSCode.In the list of plugins that you see in the file, just add a plugin named
npm, like this 👇Voila! You are done with OhMyZsh! To see the changes, run
source ~/.zshrcin the terminal, and now you have the features of an OhMyZsh shell.🔰 Installing HyperTerm by ZeitZeit (the creator of now.sh and Next.js) has created an awesome terminal app for us that is built in Electron.
Download Hyper from here.
⚛️ Configure Hyper with OhMyZshOpen Hyper Terminal. You won't see OhMyZsh running there. So, go to Hyper Settings. On OSX, it's
Hyper > Preferences.That would open a
.hyper.jsfile in your favorite editor. This file contains all the settings of your terminal that are super easy to control!To enable OhMyZsh as a default shell in Hyper, make this change in
.hyper.js👇And that would make OhMyZsh your default Hyper Terminal shell!
🤩 Autocomplete while you type a commandGit Clone the
zsh-autocompleteplugin in the OhMyZsh plugin folder.Once that is done, add the plugin in the
~/.zshrcfile's plugin list.🎉 Zsh sytax highlightingGit Clone the
zsh-syntax-highlightingplugin in the OhMyZsh plugin folder.And once again add it in the plugins list of the
.zshrcfile.Note: To reflect every change you make, do
source ~/.zshrcin the terminal.📯 Enabling Hyper related features and themesOpen
.hyper.jsby toggling Settings of Hyper Terminal.Check out the
plugins: [...]section and paste these plugin names there.Save the file and Hyper would automatically install those plugins and themes for you. To reflect the changes, just close and start Hyper Terminal again.
Hooray! You now have all the features in your terminal which were listed in the start of this DEV.to article.
BONUS: Setting up the same terminal configuration for Integrated Terminal in VSCodeIn the VSCode Settings, add the following JSON key-value pairs and you'll be good to go!
And that is it folks!
Last updated
Was this helpful?